Every prompt in this pack, complete and copyable from this page. Open any one for the real before/after and the step-by-step.
Ultra-high-resolution 4K upscaling based on the exact given reference image of Cristiano Ronaldo. Absolute fidelity to the original facial anatomy, proportions, and identity. Maintain expression, gaze, pose, camera angle, framing, and perspective without distortion.
Clothing, hair, skin, and background elements must remain unchanged in structure, placement, and design. Restore fine details with natural realism. Enhance pores, fine lines, hair strands, eyelashes, fabric weaves, seams, and material edges without adding stylization.
Maintain the original color science, white balance, and tonal relationships exactly as captured. Lighting direction, intensity, contrast, and shadow behavior must match the source image exactly, only with increased clarity and expanded dynamic range.
No relighting, no reshaping. Remove noise. Apply controlled sharpening and reconstruct high-frequency details. Eliminate compression artifacts and noise while maintaining authentic textures. No smoothing, no plastic skin, no artificial shine.
Facial features must remain consistent throughout the image with coherent anatomy and clean, stable edges.
Negative constraints:
• No distortion
• No facial shifts
• No addition or subtraction of anatomy
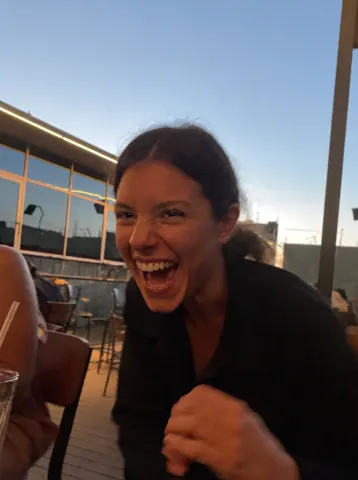
Open the closed eyes in this photo naturally while keeping the person's identity, expression, pose, hair, lighting, and the entire scene completely unchanged.

Reconstruct the open eyes with complete fidelity to the person's real facial anatomy: natural eye shape matching their bone structure, realistic iris color, and catchlights consistent with the scene's actual lighting. Both eyes should be equally and naturally open, with an expression that matches whatever the face is doing — a laugh keeps joyful eyes, a calm face keeps relaxed ones. Eyelids, lashes, and the surrounding skin must blend seamlessly with the real skin texture.

Do not beautify anything: no smoothing, no reshaping, no change to the smile, teeth, hair, background, colors, grain, or composition. If the photo has a casual phone-camera character, keep it exactly.

The final result should look like the same photo taken a half-second earlier, before the blink — completely natural, with no trace of editing.
## Photo Restoration Prompt

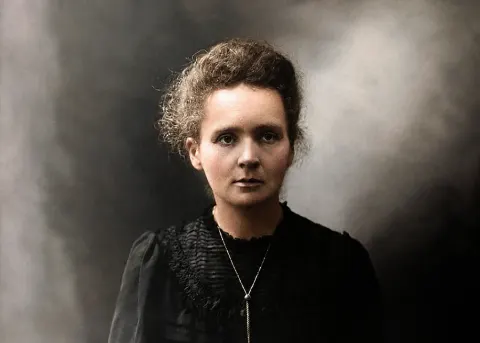
Restore this photo using period-accurate techniques, addressing all age-related damage: blurring, tears, folds, fading, scratches, worn-out areas, and black-and-white conversion. First analyze the image to identify the approximate era and apply historically accurate restoration. Gently sharpen soft edges and facial features without overdoing it. Smooth grainy spots and noise where present. Reconstruct missing parts with realistic textures matching the original. If colors are faded or absent, restore them naturally and vibrantly but true to the era's photographic technology, balance colors to match natural lighting, adjust brightness and contrast so everything pops without looking artificial, maintain original tonality. Restore fine details on faces, objects, and backgrounds that may have been lost, fine lines in clothing, lifelike skin textures, small environmental elements, while keeping the overall feel authentic, preserving natural grain patterns, and not changing the composition. Ensure the whole image is balanced with no harsh shadows or washed-out areas. Remove technical defects while respecting the nostalgic charm and exposure qualities of the time. Upscale to Full HD for better clarity. Final output must read as a professionally restored, photo-realistic result.
Remove the digital date/time stamp burned into this uploaded photo. Locate the orange or yellow LCD-style numbers stamped in the corner — typically a date, time, or frame counter left by an old point-and-shoot or disposable camera — and reconstruct the image underneath them as if the stamp were never there.

Preserve the identity of every person, the exact composition, framing, and lighting of the original photo. Do not shift, crop, or re-light the scene — only rebuild the small patch of image where the stamp sat, matching the surrounding grain, color, and texture exactly.

Keep the photo's natural film or sensor grain, mild noise, and true-to-life color balance. Do not smooth or soften skin, do not add plastic-looking texture, and do not introduce new artifacts, blur, or warping anywhere else in the frame.

The final result should look like the original photo was never stamped at all — a clean, natural shot with no visible trace of the date/time overlay.
Remove the rain streaks, water droplets, and glass haze from this uploaded photo. Clear away every drop, smear, and streak sitting on the window, car windshield, or camera lens between the camera and the scene, so the view behind it reads crisp and unobstructed.

Keep the composition, camera angle, and framing of this uploaded photo exactly as they are. Do not shift, crop, or re-frame anything, and do not alter the people, objects, colors, or lighting of the scene itself — only the rain-blurred glass layer sitting in front of it should change.

Rebuild the parts of the scene that were distorted or smeared by water as sharp, natural detail that matches the surrounding light and depth of field. Avoid any smoothing, waxy plastic textures, or over-sharpened edges — keep natural photo grain and texture so the result still reads as a real, unedited photograph, not a filter.

The final result should look like the photo was taken on a clear, dry day through spotless glass.
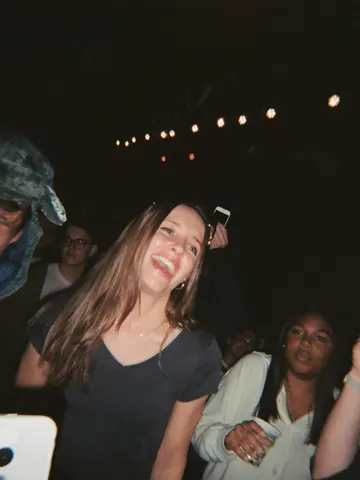
Fix the wrecked lighting in this uploaded photo. Concert and live-show shots taken on a phone almost always come out with a muddy color cast from the stage lights, crushed shadows, motion blur from the crowd swaying, and a grainy, noisy texture that hides the person's face. Correct the exposure and white balance so skin tones read true and natural again, sharpen the subject enough to be clearly recognizable, and calm the colored light wash into clean, separated hues instead of one bleeding blob of purple, red, or green.

Keep the subject's identity, pose, expression, and exact position in the frame completely unchanged — this is a lighting and clarity correction, not a re-pose or a re-composition. Preserve the venue, crowd, stage, and any visible performers or lighting rig exactly as they are; do not invent new background elements, signage, or people. Keep the framing and camera angle identical to the original.

Avoid over-smoothing skin or turning the photo into a flat, plastic-looking render — retain natural skin texture, fine grain, and a bit of realistic noise so it still reads as a real phone photo, not an airbrushed edit. Do not add lens flares, bloom, or any stylized cinematic color grade; the goal is clarity and accuracy, not a new look.

The final result should look like a sharp, true-color phone photo from the show — like it was actually shot on a better camera in better light, not edited.
Remove the harsh lens flare and stray light streaks from this uploaded photo. Eliminate the rainbow-colored circles, the washed-out haze, and the bright starburst artifacts caused by shooting toward the sun or a strong light source, restoring natural contrast and color to the sky and scene behind them.

Keep the composition, camera angle, and every real element of the scene exactly as they are — the horizon line, buildings, trees, water, and any people must stay in their original positions and proportions. Do not shift the framing, add new objects, or alter the time of day.

Avoid over-smoothing the sky or scene when cleaning up the flare; preserve natural texture, clouds, and fine detail, and keep any visible grain or noise consistent with the rest of the photo so it doesn't look artificially scrubbed or plastic.

The final result should look like a clean, naturally lit photo with no lens flare, glare, or light streaks — as if it had been shot with a lens hood or from a slightly different angle that avoided the light source entirely.
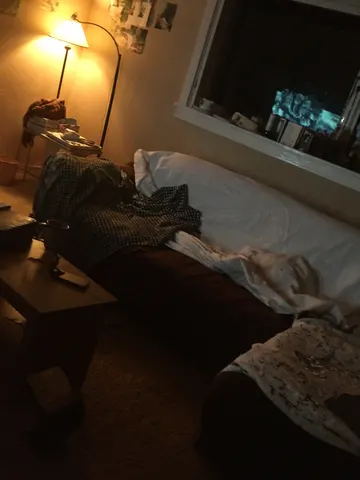
Brighten this uploaded photo like a professional night-mode fix, not a flat exposure slider. Lift the shadows and midtones so hidden detail in dark corners becomes visible, recover clipped highlights around any lamps or windows, and rebalance the color temperature so the scene reads clean and natural instead of murky orange or blue-grey.

Keep the composition, framing, and camera angle exactly as shot — this is a correction, not a re-shoot. Preserve the true position and color of every light source; do not invent new lights, windows, or reflections that were not in the original photo. Keep every object, wall, and surface in its exact place.

Avoid over-smoothing or noise reduction that erases texture — retain the photo's natural grain and fine detail, and don't let bright areas turn flat, plastic, or artificially clean. No added blur, no glow effects, no HDR haloing around edges.

The final result should look like the same photo taken with a much better sensor in much better light — crisp, evenly exposed, and true to the original scene.
Remove the window reflection and glare from this uploaded photo. Wherever the glass is doubling the interior, a reflected face, ceiling lights, or the photographer's own silhouette over the scenic view outside, dissolve it away and reconstruct the natural scene as if the photo had been taken with no glass in front of the lens.

Rebuild the view naturally continuous — extend the sky, horizon line, foliage, water, or landscape elements so nothing looks patched or duplicated where the reflection used to sit. Correct the color cast the glass introduced (any tint, haze, or flatness) back to natural outdoor light and contrast, but keep the same time of day and weather conditions already visible in the photo.

Preserve the exact composition, camera angle, and framing of the original shot, and keep every real element of the landscape — the actual scenery, not a generic replacement — unchanged in position and shape. Do not smooth the image into a plastic or painterly look, do not oversharpen, and keep natural photographic grain and texture in the final result.

The final result should look like the same scenic photo taken through open air with a clean, unobstructed lens — no reflection, no glare, no glass artifacts, just the honest view.
Recover the blown-out highlights in this uploaded photo. Pull detail back into the overexposed areas — the sky, the skin, any white clothing — until texture and colour return where the image had gone flat white. Rebalance the overall exposure so the midtones sit naturally and the shadows keep their depth.

Keep the subject's identity, pose, framing and the direction of the light exactly as they are. This is an exposure correction, not a relight and not a recomposition. Preserve the existing grain and skin texture — do not smooth skin, do not add plastic sheen, do not introduce HDR halos or grey flatness around recovered edges.

The final result should look like the same photo taken with the exposure set correctly in the first place.
Remove the chromatic aberration from this uploaded photo. Along every high-contrast edge — where a dark branch, railing, or rooftop line meets a bright sky, or where backlit hair meets a bright background — eliminate the fringes of purple, magenta, and green color bleeding just outside the edge. Pull those color halos back into the correct, true color of the object and the background behind it.

Keep the composition, framing, and lighting of the photo exactly as they are. Do not recolor, recrop, or straighten anything, and do not change the identity of any person, the position of any object, or the overall exposure. Only correct the fringing artifact itself.

Preserve the photo's natural grain and texture — do not smooth skin, do not apply plastic-looking denoising, and do not blur the edges to hide the fix. The corrected edges should still look crisp and photographic, just without the rainbow-colored bleeding.

The final result should look like a photo taken with a well-corrected, high-quality lens — every edge naturally sharp and true to color, as if the fringing was never there.
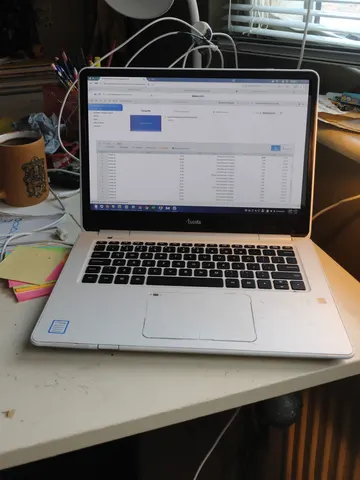
Remove the harsh glare and reflection washing out this uploaded photo's laptop or monitor screen. Reconstruct the obscured screen content — text, images, or interface — so it reads clearly and naturally, matching the screen's original brightness and color balance.

Keep the subject, room, desk setup, and lighting outside the screen completely untouched — only correct the glare on the display itself. Do not change the composition, add or remove objects, or alter anything beyond the screen surface.

Preserve natural photographic texture: no smoothing, no plastic-looking surfaces, keep existing grain and detail intact. Avoid an unnaturally flat or fake-looking screen glow when correcting the reflection.

The final result should look like the same photo, taken with the screen perfectly readable and glare-free, as if the light in the room had never caused a reflection.
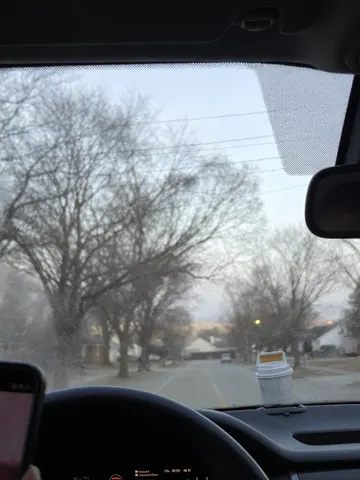
Clear the thick frost and ice crystals off this uploaded windshield photo so the road and scenery ahead are fully visible again. Melt away every patch of frozen condensation, scraped ice lines, and foggy crystal texture from the glass, revealing a clean, transparent windshield exactly as if the defroster had already done its job.

Keep the dashboard, mirror, wipers, and everything visible through the glass in the same position and perspective as the original photo — do not change the camera angle, the time of day, or the framing. The road, trees, sky, and any other background elements should look natural and consistent with the original lighting, not brightened or recolored.

Avoid over-smoothing the glass or making it look artificially spotless like a render — keep subtle real-world imperfections such as faint smudges or a slightly dirty edge, and preserve the natural grain of the original photo. No plastic or glossy overlay effects.

The final result should look like an ordinary phone photo taken through a perfectly clear windshield on a normal winter morning, with no frost, ice, or fog anywhere on the glass.
Clear the thick steam fogging up the mirror in this uploaded photo. Wipe away the condensation clouding the glass so the reflection underneath becomes sharp and fully visible again, the way the mirror would look moments before the shower or hot water ran.

Keep the person's pose, outfit, facial expression, and position in the frame exactly as they are — only the fogged glass changes, not the subject standing in front of it. Preserve the real bathroom or gym setting behind them: the same tile, lighting, fixtures, and any towels or products already in shot, just visible again instead of hidden behind haze.

Do not smooth or soften the person's skin, hair, or the texture of the room to compensate for the missing fog — keep true photographic grain, natural asymmetries, and the original lighting color exactly as it was on the parts of the mirror that were already clear. Avoid leaving behind streaky wipe marks, warped reflections, or a second faint ghost of the fog.

The final result should look like the exact same mirror selfie taken a minute later, once the steam had fully cleared.
Remove the dark, out-of-focus smudge blocking part of this uploaded photo — the classic accidental finger-over-the-lens blur that ruins an otherwise good shot. Reconstruct whatever was hidden behind that blurry patch so the corner or edge looks like it was never covered in the first place.

Keep everything else in the photo exactly as it is: the same composition, framing, colors, and lighting throughout the rest of the frame. Don't add, remove, or rearrange any other object, and don't crop or zoom the shot to hide the fix — just clear the obstruction and fill in what was behind it naturally.

Match the reconstructed area to the surrounding light, focus, and grain so the seam is invisible — no smudging, no plastic smoothing, no obvious AI patchwork, and keep the same mild everyday photo noise and texture as the rest of the image.

The final result should look like a normal, perfectly framed photo with no visible obstruction at all — as if the shot was clean from the moment it was taken.
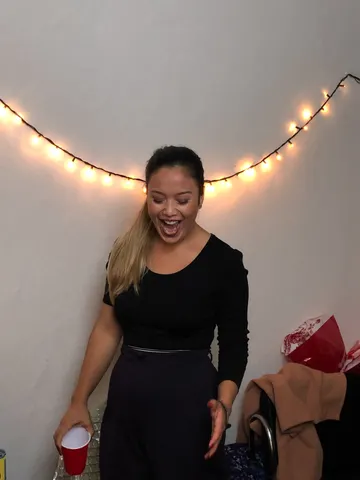
Correct the color cast on this uploaded photo. The image was shot under warm string lights or candlelight and everything — skin, walls, clothing, background — has picked up a heavy orange-yellow tint that makes it look dingy and off. Rebalance the white balance so skin tones read natural and true, whites and neutrals look actually white, and colors regain their real hue instead of being drowned in amber.

Keep the identity, expression, pose, and composition of the photo exactly as they are — do not reshape the face, change the outfit, or move anyone in the frame. Preserve the actual light sources (the string lights or candles can stay warm and glowing themselves), just stop that warmth from bleeding into everything else in the shot.

Do not smooth or soften skin, do not add plastic-looking texture, and keep the photo's natural grain and imperfections intact. This is a color correction, not a retouch — the goal is accurate color, not a filtered or airbrushed look.

The final result should look like the same party photo shot with proper white balance from the start — natural skin tones and true colors, with the festive lights still glowing warmly in the background exactly where they were.
Take this uploaded photo and extend it outward so nothing is awkwardly cut off at the edges of the frame. If a head, limb, or the top of someone's hair is chopped off by the frame boundary, naturally continue the scene beyond that edge — rebuild the missing part of the body and background so the full subject fits comfortably inside the picture.

Match the existing lighting, color grade, grain, and camera perspective exactly so the extended area is indistinguishable from the original capture — no seams, no blending lines, no sudden shift in sharpness or white balance where the new region begins. Keep every visible person's face, body proportions, and clothing completely unchanged; only add space around them, never re-pose or alter what's already there.

Do not smooth skin, do not add plastic-looking texture, and keep the same amount of natural photo grain and imperfection across old and new areas alike. This is a framing repair, not a re-edit — the goal is a photo that looks like it was simply taken a step further back.

The final result should look like the photographer never cropped anyone out of the shot in the first place.
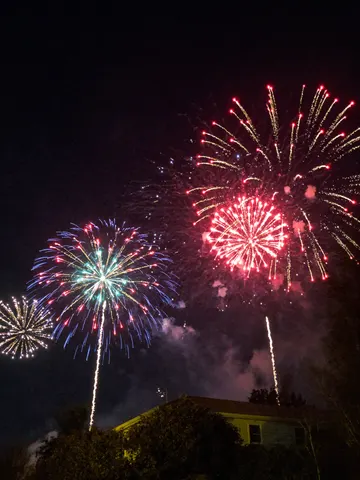
Fix this uploaded photo of a fireworks display. The fireworks came out dim, hazy, and smeared with motion blur — the bursts look like faint smudges of light lost in smoke and darkness instead of the crisp show you actually saw.

Sharpen every firework burst into crisp, well-defined trails and sparks, boost the color saturation of the burst colors, and clear away the haze and smoke so the night sky reads deep black instead of murky gray. Keep the composition, camera angle, and any visible skyline, crowd, or silhouettes exactly as they are — don't crop, don't add fireworks that weren't there, don't change what's actually in frame.

Preserve the photo's natural night-photography grain and any ambient light sources unchanged in position and color; avoid over-sharpening into a plastic or HDR-painted look, and don't smooth away the texture of smoke or clouds that are supposed to be there. This is a clarity and color correction, not a repaint.

The final result should look like the fireworks photo you meant to capture — crisp, vivid bursts against a clean night sky, exactly what your eyes saw in the moment.
Clear away the fog and condensation clouding this uploaded photo. Identify the hazy, low-contrast veil caused by a foggy or condensation-covered lens and remove it entirely, restoring sharp detail, natural contrast, and true color saturation to the scene underneath.

Keep the composition, framing, and camera angle exactly as captured. Do not add, move, or remove any people, objects, or background elements — only clear the atmospheric haze and lens fog that was blocking the view. Preserve the original lighting direction and time of day; just let it read clearly instead of through a milky film.

Avoid over-sharpening, plastic-smooth textures, or digital haloing around edges. Keep natural grain and realistic texture in skies, buildings, and surfaces — this should look like the photo taken on a clear day, not an AI-smoothed render. No added lens flares, no oversaturated colors beyond what natural clear conditions would show.

The final result should look like a crisp, clear photo taken with a clean, fog-free lens on a bright day — same scene, same moment, just without the haze in the way.
Remove the harsh, high-contrast shadow cutting across this uploaded photo. Rebuild the shadowed area with lighting that matches the rest of the scene — same color temperature, same direction of light, same time-of-day mood — so the object or scene looks like it was shot in soft, even light instead of direct midday sun.

Keep the framing, angle, and every object in the scene exactly as photographed. Do not move, resize, add, or remove anything — only correct the lighting. Preserve real textures and surface detail under where the shadow was; do not smooth, blur, or plastic-coat any surface, and keep the photo's natural noise and grain intact.

Avoid any warping of edges, duplicated objects, or glowing/HDR haloing around where the shadow used to fall. The corrected area should blend seamlessly with the rest of the image, not look like a separate layer pasted on top.

The final result should look like the photo was simply taken in soft, diffused light from the start — no shadow, no edit history, just a clean, evenly lit shot.
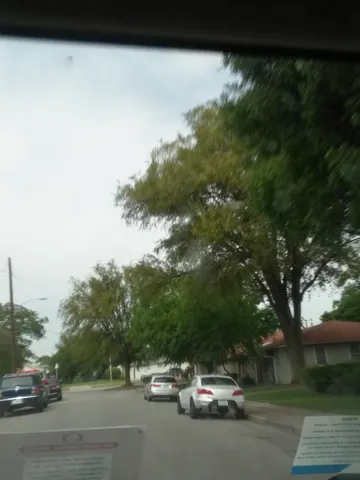
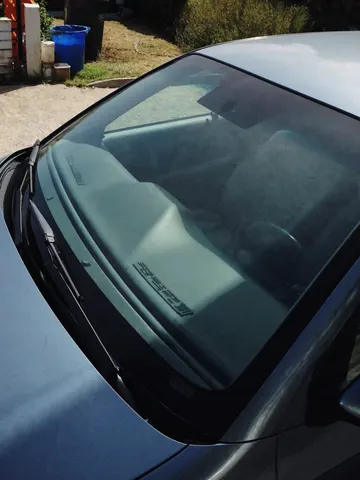
Remove the glare and reflections from the windshield in this uploaded photo. Clear away the bright reflective glare, sky reflections, and washed-out haze covering the glass so the car's interior, seats, and dashboard become visible through the windshield exactly as if the photo were taken with a polarizing filter.

Keep everything else in the photo completely untouched: the car's body, paint, badges, wheels, the background, the framing, and the lighting on the rest of the vehicle must stay exactly as they are. Do not change the angle, do not add reflections that weren't there minus the glare, and do not alter the color or shape of the car itself.

Avoid over-smoothing the glass or making it look fake or CGI-perfect — keep a faint, natural glass texture and realistic light falloff at the edges of the windshield. No plastic sheen, no over-sharpened edges, keep the subtle grain of the original photo.

The final result should look like the same exact photo of the car, just taken with a polarizing filter so the interior is clearly visible through a clean windshield.
Remove the red-eye effect from this uploaded photo. Correct the pupils so they return to their natural dark color, matching the person's real eye tone and the photo's ambient lighting — no glowing red, orange, or artificial white circles left behind.

Keep the identity, facial features, expression, composition, and framing of this photo exactly unchanged. Do not alter the pose, skin tone, hairstyle, clothing, or background — this is a targeted eye-color correction, not a full retouch.

Preserve the original flash lighting, skin texture, and photo grain. Do not smooth the skin, do not add plastic or airbrushed texture, and do not introduce any new artifacts, blur, or warping around the eyes. The catchlight and natural eye shape should stay intact.

The final result should look like the same candid flash photo, except the eyes look naturally dark and lifelike instead of glowing red.
Remove the glare and reflections from the eyeglasses in this uploaded photo while keeping the glasses, face, and everything else completely unchanged.

Eliminate white light reflections, screen glow, ring-light circles, and hazy sheen from both lenses, reconstructing the eyes behind them with complete fidelity to the person's real anatomy: accurate eye shape matching their facial structure, natural iris colour, and catchlights consistent with the scene's actual lighting. If part of an eye is fully hidden by glare, reconstruct it symmetrically from the visible eye and the person's bone structure — never invent a generic eye. The gaze should look natural and match the expression on the rest of the face.

Keep the frames exactly as they are: same shape, colour, thickness, and position, with their natural highlights intact. Lenses should retain a faint, realistic transparency sheen — perfectly matte lenses look fake. Preserve skin texture, hair, background, lighting, and the original photographic grain.

Negative constraints:
• No removal or reshaping of the glasses themselves
• No change to eye colour, size, or expression
• No smoothing or beautifying of the surrounding skin

The final result should look like the same photo taken at a luckier angle — clear lenses, natural visible eyes, and zero trace of retouching.
Fix the blur and lack of focus in this uploaded photo while keeping the subject, scene, composition, and all content completely unchanged. Identify the type of blur present — motion blur from camera shake, subject motion blur from the subject moving, or focus blur from the camera focusing on the wrong plane — and correct it appropriately.

Sharpen the entire image to restore crisp detail and clarity. Facial features should become clearly defined with sharp edges on the eyes, eyebrows, lips, and jawline. Text in the background should become readable if it was slightly soft. Fabric textures, hair strands, and fine details should become visible and defined.

Reduce any motion blur streaking so that edges are clean and stationary-looking. If the background was intentionally blurred with depth of field, preserve that creative blur while sharpening only the intended subject.

Do not over-sharpen to the point of creating unnatural halos, grainy artifacts, or noise amplification — the sharpening should look natural as if the photo was simply taken in perfect focus with a steady hand.

Skin texture should be enhanced to be realistic and detailed, not smoothed. The final result should look like the photo was captured in perfect focus with no camera shake: sharp, clear, detailed, and properly focused on the intended subject.

Important: only recover detail that is genuinely present in the image. Do not invent or hallucinate facial detail that was never captured — if an area is too blurred to recover honestly, leave it soft rather than fabricating features. Keeping the person recognisably themselves matters more than maximum sharpness.