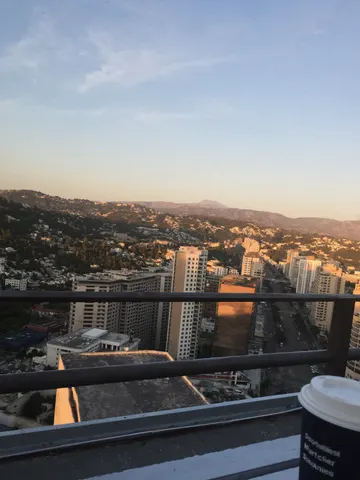
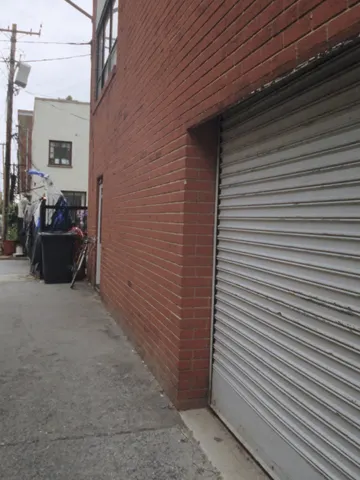
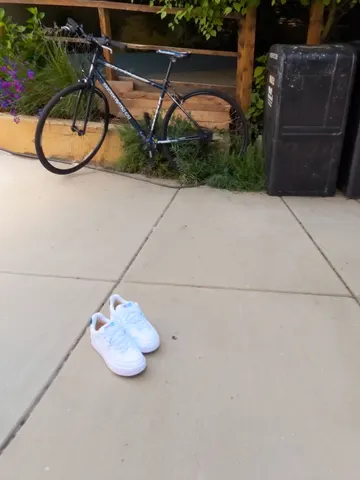
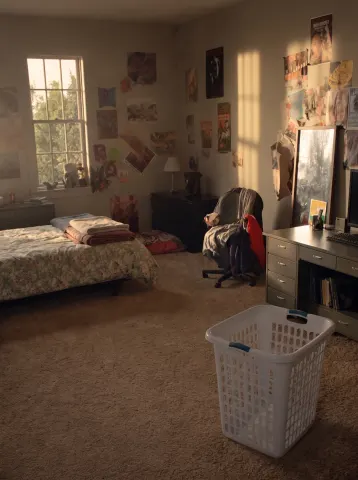
Complete prompt text, copyable straight from this page. Open any prompt for the real result and the step-by-step.
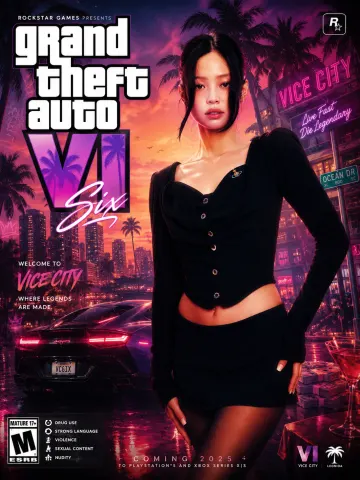
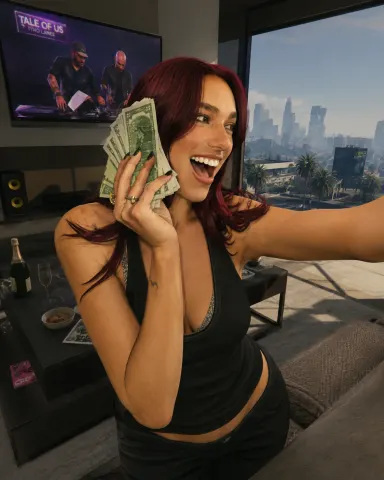
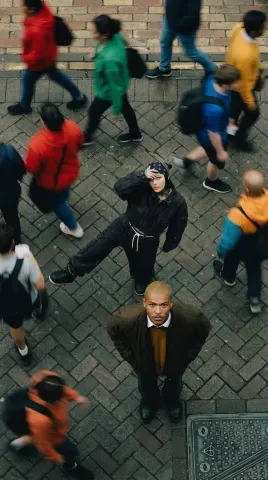
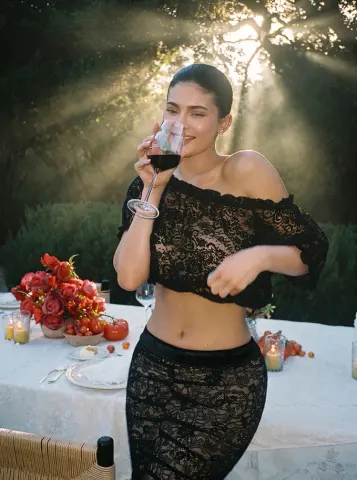
Create a highly detailed 8K portrait poster inspired by the iconic visual style of the modern Grand Theft Auto VI promotional artwork aesthetic, featuring a cinematic urban atmosphere with bold composition, vibrant lighting, layered graphic elements, and stylish contemporary street-luxury fashion energy. The overall design must strongly capture the signature mood of GTA VI posters, including dynamic neon color grading, tropical-modern city vibes, dramatic shadows, glossy highlights, stylized textures, decorative ornaments, graphic overlays, urban symbols, luxury lifestyle accents, and immersive environmental storytelling. Add premium poster decorations such as abstract shapes, graffiti-inspired accents, subtle retro-modern textures, luxury vehicle silhouettes, nightlife elements, palm tree shadows, street sign details, glowing reflections, and layered visual effects that enrich the composition without making it feel overcrowded. Include a large cinematic title text "Grand Theft Auto VI" prominently on the poster using typography inspired by official AAA video game promotional posters, with the full version of "GTA" clearly written as "Grand Theft Auto." The typography should feel bold, luxurious, modern, and integrated naturally into the poster design, supported by additional smaller decorative texts, symbols, labels, and graphic UI-style elements to strengthen the authentic game-poster atmosphere...
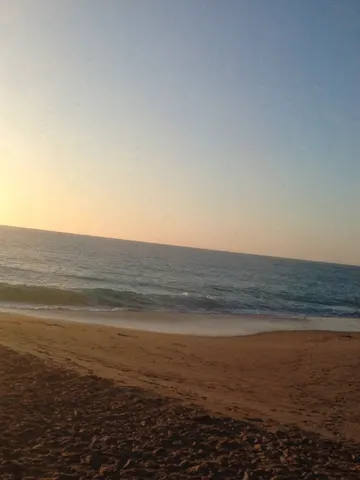
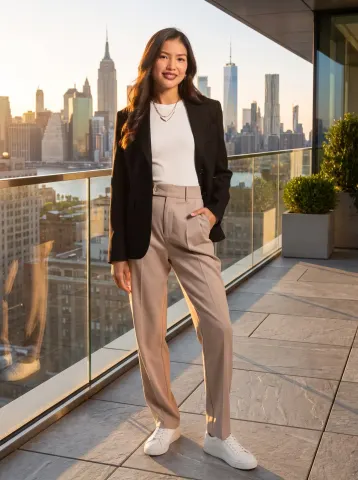
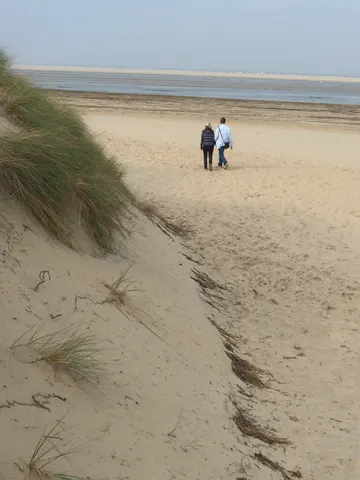
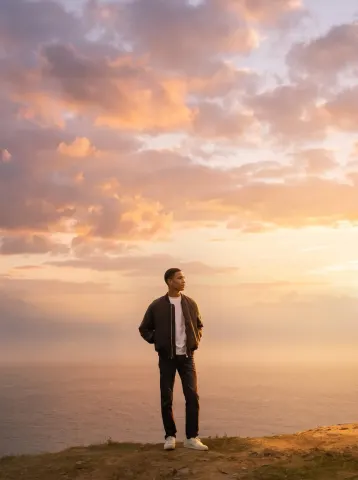
Use the Sky Replacer prompt from the library on Image 1.
Preserve everything from the original image:
identical subject
identical pose
identical clothing
identical expression
identical framing
identical perspective
identical camera angle
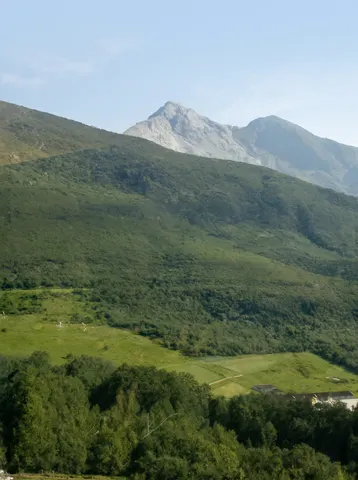
identical landscape
Replace only the dull gray sky with a breathtaking golden-hour sunset featuring dramatic clouds illuminated with warm orange, pink, and soft purple tones.
Update the entire scene naturally:
realistic sunlight direction
warm highlights on the subject
accurate shadows
natural reflections on the ocean
atmospheric haze
subtle volumetric light
seamless color harmony
The final image should look as though it was originally photographed during sunset.
No text. No logos. No watermark.
Edit this photo into a cinematic The Lord of the Rings style while preserving the original composition, subject, pose, clothing, facial features, expression, camera angle, perspective, framing, and every background element exactly.
Transform the lighting into a soft sunrise from the upper left with natural god rays, subtle volumetric lighting, gentle morning mist, and a soft cinematic lens flare.
Apply a rich, natural color grade with deep greens, warm golden-hour highlights, clean blue sky, accurate skin tones, and soft neutral shadows without an orange or yellow cast.
Enhance dynamic range, local contrast, texture, and detail to an iPhone 17 Pro Smart HDR look while keeping it fully photorealistic.
Create an immersive fantasy atmosphere inspired by The Lord of the Rings that still looks like a genuine sunrise photograph, not AI-generated artwork.
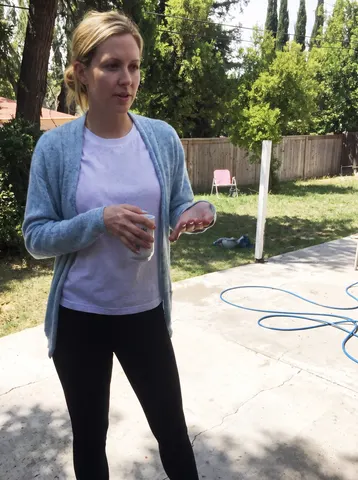
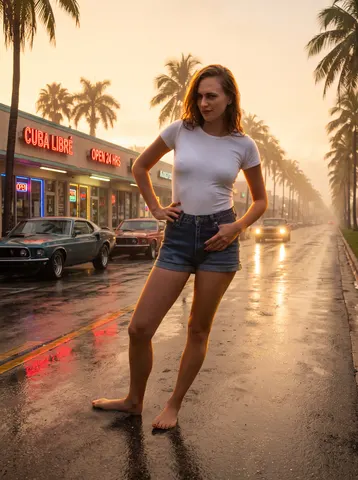
Place the person from this uploaded photo into a humid coastal city street at golden hour. Build out a Miami-style backdrop behind them — low strip-mall storefronts with glowing neon signage, wet asphalt streaked with reflected light, parked muscle cars along the curb, and rows of palm trees fading into a warm haze.

Preserve the subject's face, body proportions, pose, and clothing exactly as captured — do not alter their identity, expression, or outfit. Relight them naturally so they sit believably in the new environment: match the warm golden-hour color temperature and rim light to the scene, and add a touch of ambient bounce from the wet pavement below.

Keep the composition and camera framing from the original photo. Render the environment with photographic depth and correct perspective, not a flat backdrop — reflections on the asphalt should track the neon signage and headlights realistically. Do not smooth the subject's skin, do not stylize them into an illustration, and do not add any artificial-looking halo or cutout edge around them.

The final result should look like a single unedited photograph — a real person caught on a humid Miami side street at golden hour, neon reflections pooling on the wet road around them.
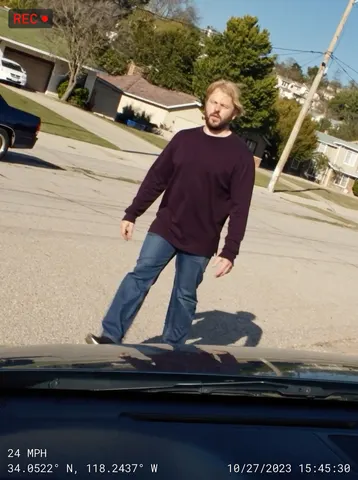
Rebuild the entire scene from the reference image as a real-time 3D render inside the GTA V Rage engine. Do not apply a filter. Fully reconstruct all people, vehicles, architecture, terrain, and props as polygonal 3D assets native to GTA V. The result should look like an authentic in-game screenshot captured on a high-end PC, ultra settings enabled. All subjects must be converted into clearly modeled geometry with visible polygon structure, baked normal maps, and game-ready textures. Faces, bodies, and clothing should follow GTA V character proportions and anatomy, slightly exaggerated, rigid, and digitally sculpted. Skin is matte and textured, no photographic pores. Hair is clumped, card-based, slightly stiff. Clothing uses flat fabric shaders with visible seams and texture repetition. Environment must feel like Los Santos or Blaine County logic. Buildings are modular, edges slightly sharp, surfaces tiled and optimized. Roads, sidewalks, vegetation, street props, and background elements are simplified but dense, clearly game-built constructed. No real-world photographic depth or lens artifacts. Lighting follows GTA V real-time lighting behavior. Strong directional sunlight or overcast skylight depending on scene. Hard shadows with defined edges, subtle ambient occlusion in corners. Reflections are screen-space and imperfect. Colors are slightly saturated with the recognizable GTA V color grading. Contrast is controlled but punchy. Materials must read as video game assets. Asphalt is flat and grainy. Metal has simple specular highlights. Glass is clean with limited reflection depth. Vegetation is slightly stiff and stylized. Nothing should appear physically accurate or cinematic-render realistic. Camera should feel like a gameplay or Rockstar Editor capture. Third-person or free camera perspective. Slight wide-angle distortion. Stable framing. No depth of field blur. No motion blur unless minimal and engine-based. Overall look is unmistakably GTA V. Real-time 3D. Polygon. Textured. Optimized. Stylized realism. Clearly not a photograph.
Remove the harsh lens flare and stray light streaks from this uploaded photo. Eliminate the rainbow-colored circles, the washed-out haze, and the bright starburst artifacts caused by shooting toward the sun or a strong light source, restoring natural contrast and color to the sky and scene behind them.

Keep the composition, camera angle, and every real element of the scene exactly as they are — the horizon line, buildings, trees, water, and any people must stay in their original positions and proportions. Do not shift the framing, add new objects, or alter the time of day.

Avoid over-smoothing the sky or scene when cleaning up the flare; preserve natural texture, clouds, and fine detail, and keep any visible grain or noise consistent with the rest of the photo so it doesn't look artificially scrubbed or plastic.

The final result should look like a clean, naturally lit photo with no lens flare, glare, or light streaks — as if it had been shot with a lens hood or from a slightly different angle that avoided the light source entirely.
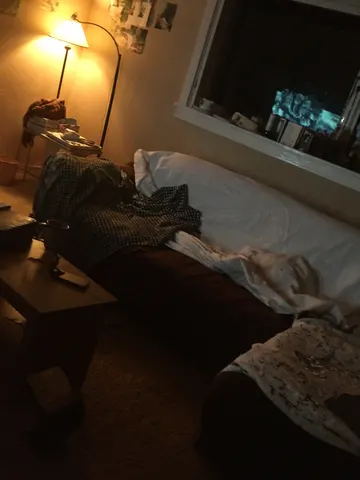
Brighten this uploaded photo like a professional night-mode fix, not a flat exposure slider. Lift the shadows and midtones so hidden detail in dark corners becomes visible, recover clipped highlights around any lamps or windows, and rebalance the color temperature so the scene reads clean and natural instead of murky orange or blue-grey.

Keep the composition, framing, and camera angle exactly as shot — this is a correction, not a re-shoot. Preserve the true position and color of every light source; do not invent new lights, windows, or reflections that were not in the original photo. Keep every object, wall, and surface in its exact place.

Avoid over-smoothing or noise reduction that erases texture — retain the photo's natural grain and fine detail, and don't let bright areas turn flat, plastic, or artificially clean. No added blur, no glow effects, no HDR haloing around edges.

The final result should look like the same photo taken with a much better sensor in much better light — crisp, evenly exposed, and true to the original scene.
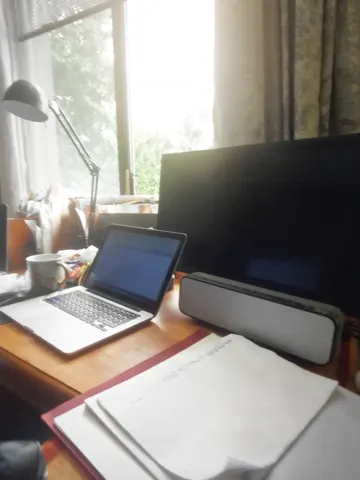
Remove the window reflection and glare from this uploaded photo. Wherever the glass is doubling the interior, a reflected face, ceiling lights, or the photographer's own silhouette over the scenic view outside, dissolve it away and reconstruct the natural scene as if the photo had been taken with no glass in front of the lens.

Rebuild the view naturally continuous — extend the sky, horizon line, foliage, water, or landscape elements so nothing looks patched or duplicated where the reflection used to sit. Correct the color cast the glass introduced (any tint, haze, or flatness) back to natural outdoor light and contrast, but keep the same time of day and weather conditions already visible in the photo.

Preserve the exact composition, camera angle, and framing of the original shot, and keep every real element of the landscape — the actual scenery, not a generic replacement — unchanged in position and shape. Do not smooth the image into a plastic or painterly look, do not oversharpen, and keep natural photographic grain and texture in the final result.

The final result should look like the same scenic photo taken through open air with a clean, unobstructed lens — no reflection, no glare, no glass artifacts, just the honest view.
Remove all graffiti, spray-paint tags, and stickers from the walls, doors, and surfaces in this uploaded photo. Reconstruct the brick, metal, or painted texture underneath exactly as it would look if it had never been tagged — matching the original material's color, texture, and weathering precisely.

Keep the composition, camera angle, and framing of this uploaded photo completely unchanged. Preserve the lighting direction, shadows, and time of day exactly as they appear — do not brighten, flatten, or restyle the scene. Any people, vehicles, bikes, bins, or other objects in the frame must stay exactly as they are.

Do not smooth or repaint the entire wall — only clear the graffiti-covered areas, keeping the natural grain, cracks, stains, and imperfections of the surrounding surface intact. Avoid a plastic, airbrushed, or rendered look; the wall or door should still read as real material, not a flat texture fill.

The final result should look like the same street or building photo, but with every trace of graffiti and tagging cleanly gone, as if the wall had just been repainted or was never marked at all.
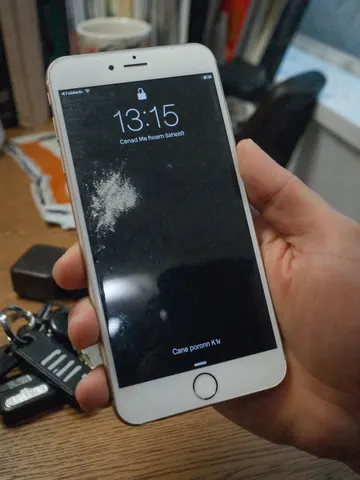
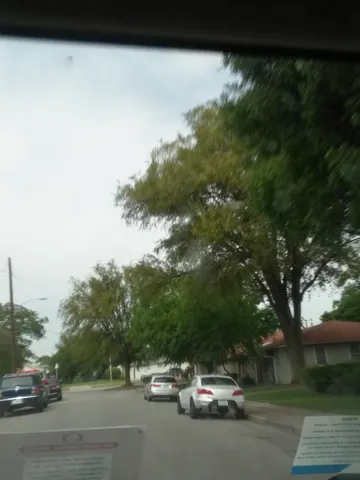
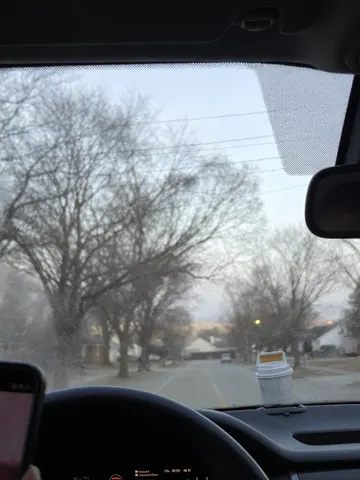
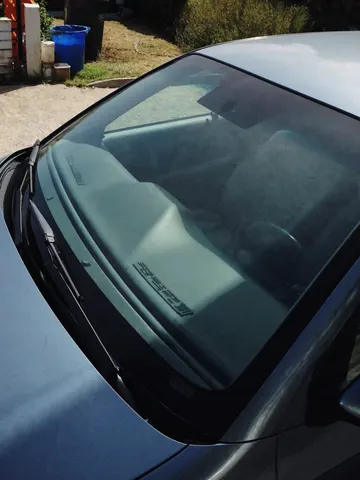
Remove the rain streaks, water droplets, and glass haze from this uploaded photo. Clear away every drop, smear, and streak sitting on the window, car windshield, or camera lens between the camera and the scene, so the view behind it reads crisp and unobstructed.

Keep the composition, camera angle, and framing of this uploaded photo exactly as they are. Do not shift, crop, or re-frame anything, and do not alter the people, objects, colors, or lighting of the scene itself — only the rain-blurred glass layer sitting in front of it should change.

Rebuild the parts of the scene that were distorted or smeared by water as sharp, natural detail that matches the surrounding light and depth of field. Avoid any smoothing, waxy plastic textures, or over-sharpened edges — keep natural photo grain and texture so the result still reads as a real, unedited photograph, not a filter.

The final result should look like the photo was taken on a clear, dry day through spotless glass.
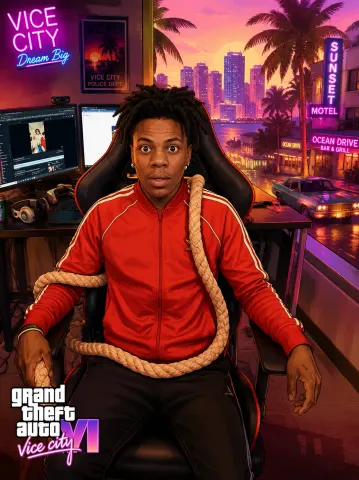
Transform the uploaded image into a high-end commercial illustration inspired by the promotional loading screen artwork of Grand Theft Auto VI and Grand Theft Auto: Vice City. Preserve the exact identity, pose, facial features, clothing, accessories, hairstyle, camera angle, and overall composition of the original photo. Reimagine the existing background rather than replacing it. Keep the original location immediately recognizable by preserving its layout, perspective, architecture, streets, natural features, landmarks, and overall atmosphere. Reinterpret the environment as if it exists naturally within the world of Grand Theft Auto VI's Vice City, enhancing it with richer visual storytelling, more stylized architecture, cinematic lighting, refined environmental details, vibrant colors, subtle signage, atmospheric depth, and immersive world-building while respecting the purpose and character of the original location. Adapt environmental elements contextually. Add vehicles, pedestrians, storefronts, vegetation, palm trees, street furniture, neon lighting, luxury details, or urban activity only where they naturally belong. Preserve the function, scale, and mood of the original setting. If the original scene is residential, rural, industrial, mountainous, indoors, quiet, or otherwise unsuited to traffic or crowds, do not introduce unnecessary cars, palm trees, pedestrians, or city elements. Every environmental addition should feel like a believable evolution of the original scene rather than a replacement Illustrate the image using
Remove the harsh, high-contrast shadow cutting across this uploaded photo. Rebuild the shadowed area with lighting that matches the rest of the scene — same color temperature, same direction of light, same time-of-day mood — so the object or scene looks like it was shot in soft, even light instead of direct midday sun.

Keep the framing, angle, and every object in the scene exactly as photographed. Do not move, resize, add, or remove anything — only correct the lighting. Preserve real textures and surface detail under where the shadow was; do not smooth, blur, or plastic-coat any surface, and keep the photo's natural noise and grain intact.

Avoid any warping of edges, duplicated objects, or glowing/HDR haloing around where the shadow used to fall. The corrected area should blend seamlessly with the rest of the image, not look like a separate layer pasted on top.

The final result should look like the photo was simply taken in soft, diffused light from the start — no shadow, no edit history, just a clean, evenly lit shot.
Clear away the fog and condensation clouding this uploaded photo. Identify the hazy, low-contrast veil caused by a foggy or condensation-covered lens and remove it entirely, restoring sharp detail, natural contrast, and true color saturation to the scene underneath.

Keep the composition, framing, and camera angle exactly as captured. Do not add, move, or remove any people, objects, or background elements — only clear the atmospheric haze and lens fog that was blocking the view. Preserve the original lighting direction and time of day; just let it read clearly instead of through a milky film.

Avoid over-sharpening, plastic-smooth textures, or digital haloing around edges. Keep natural grain and realistic texture in skies, buildings, and surfaces — this should look like the photo taken on a clear day, not an AI-smoothed render. No added lens flares, no oversaturated colors beyond what natural clear conditions would show.

The final result should look like a crisp, clear photo taken with a clean, fog-free lens on a bright day — same scene, same moment, just without the haze in the way.
Take this uploaded photo and extend it outward so nothing is awkwardly cut off at the edges of the frame. If a head, limb, or the top of someone's hair is chopped off by the frame boundary, naturally continue the scene beyond that edge — rebuild the missing part of the body and background so the full subject fits comfortably inside the picture.

Match the existing lighting, color grade, grain, and camera perspective exactly so the extended area is indistinguishable from the original capture — no seams, no blending lines, no sudden shift in sharpness or white balance where the new region begins. Keep every visible person's face, body proportions, and clothing completely unchanged; only add space around them, never re-pose or alter what's already there.

Do not smooth skin, do not add plastic-looking texture, and keep the same amount of natural photo grain and imperfection across old and new areas alike. This is a framing repair, not a re-edit — the goal is a photo that looks like it was simply taken a step further back.

The final result should look like the photographer never cropped anyone out of the shot in the first place.
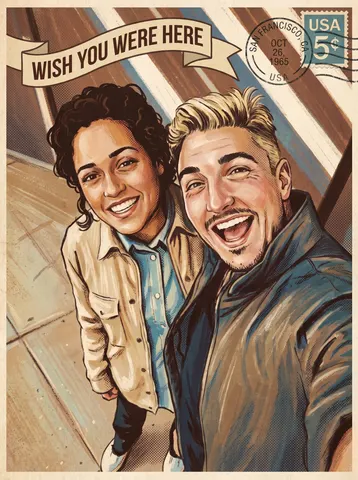
Transform this uploaded photo of the two of you into an illustrated vintage travel postcard. Restyle the scene with the warm, slightly faded color palette, soft halftone texture, and hand-painted illustration look of a mid-century tourism postcard, and add a curved 'Wish You Were Here' title across the top or bottom of the frame plus a small weathered postmark and stamp detail in one corner.

Preserve the exact identity of both people, their pose, expressions, and the framing and composition of the original photo — you are restyling the surface look, not the people. Keep the real location and setting recognizable rather than replacing it with a generic backdrop.

Keep the illustration credible: no melted or warped faces, no extra fingers or limbs, no garbled or duplicated text in the postcard title or postmark — a single clean line of lettering is enough. Retain a touch of visible brush or print texture rather than a flat, plastic, AI-smooth finish.

The final result should look like a real postcard you'd find in a vintage gift shop, made from your own memory instead of a stock illustration.